Unlimited Bandwidth
VPN Account Setup Guide in Mac OS
- in Windows 8
- in Windows 7
- in Windows XP
- in Windows Vista
- in Mac OS
- in iPhone, iPad, iPod Touch
- in Android
How to setup VPN in Mac OS
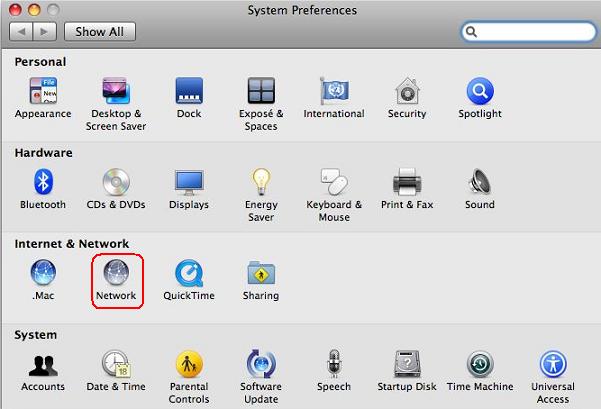
- Click the apple logo, then click System Preferences

- Select Network icon under the Internet & Network
- On this step if you can see a locked padlock in the bottom left, click on it. Otherwise go to the step 5.
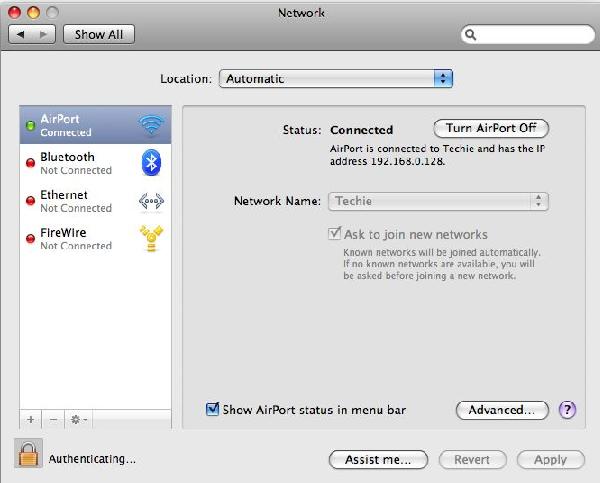
- Enter your password in the dialog box
- Click on the little + icon that is above the padlock

- Select VPN From the drop down.

- Select PPTP from the VPN Type box

- Enter vpn name and click Create

- Enter the Server Address that you received from http://vpn-account.com in e-mail, and your username.
Server address must be exactly as in your account data (without http://, www or any other symbols).
Select the box Show VPN status in menu bar

- Click Advanced button and tick 'Send all traffic over VPN connection'

- Click on the Authentication Settings button, and enter your password (that you received from vpn account)
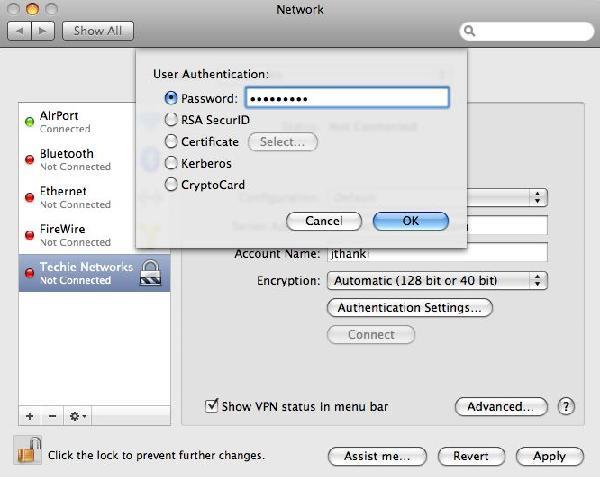
- Click the Apply button to save the changes.

- In the top right of your screen, click the token icon that looks like this. From that, a menu will drop down. Click on the Connect link for your company name. This will initiate the VPN connection.

- If you did everything correctly, you should be connected in a few seconds, and a timer will start showing you how long you have been connected to vpn